How to use new SmartThings Scenes with ActionTiles
Updated March 2021.
Native integration with Scenes is now available. Visit this knowledge base article for more information:
The workaround that's described below still works, but is now mostly irrelevant.
Updated January 2021.
At the time of writing, SmartThings Scenes are not directly compatible with ActionTiles because the required SmartThings API is not yet ready for production.
We will offer direct integration with Scenes as soon as it becomes available.
Meanwhile, this easy workaround allows SmartThings Scenes to integrate with ActionTiles.
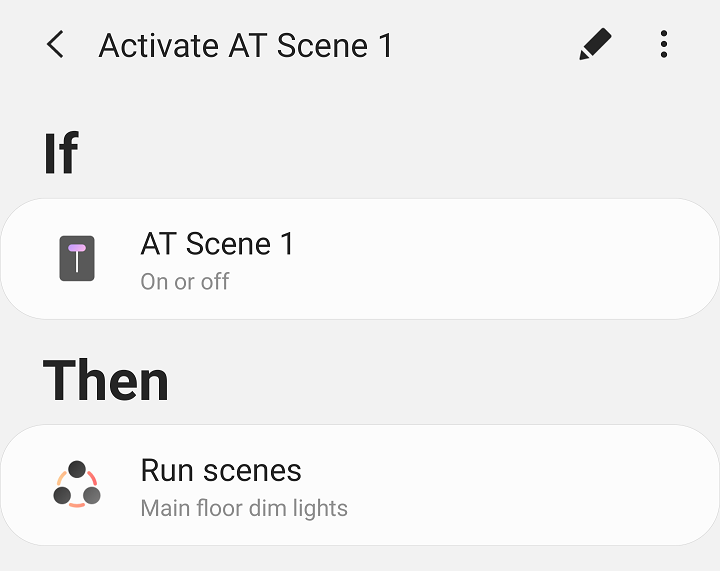
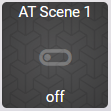
Step 1) Create a Simulated Switch using any method of your choice (f.e. How to create a Simulated Switch). Let's call it "AT Scene 1".
Step 2) Create the following Automation using the SmartThings Mobile App.
Step 3) Authorize the Virtual Switch with
ActionTiles. Then, add a Tile, it could look something like this:
3.1) Optionally, customize the Tile
- Select custom icon
- Set Tile Intention to Accent for both ON and OFF
- Change header
- Hide footer
- Assign PIN Code
Then, the Tile could look something like this:
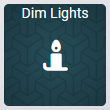
Congratulations! You have successfully set up a Tile that activates a SmartThings Scene. This is only a temporary workaround until the official integration is available.
View related article for SmartThings Home Monitor integration.
Customer support service by UserEcho